Create a blog project
Steps for creating a sample blog project.
Let's create a project which includes a Prisma schema(mongo.prisma) for creating a blog app using mongodb.
- Create a project using Godspeed CLI with below command:
godspeed create blog-app --from-example mongo-as-prisma # blog-app is the name of the app
Checkout other examples
Framework will give you below folder structure.
    .
    ├── src
        ├── datasources
        │   ├── types
        │   |    └── prisma.ts
        |   |
        │   └── mongo.prisma
        │
        ├── events
        |   |
        │   └── helloworld.yaml
        |
        ├── eventsources
        │   ├── types
        │   |    └── express.ts
        |   |
        │   └── http.yaml
        |
        └── functions
            |
            └── helloworld.yaml
- Navigate to you project folder
cd blog-app
- Open the project in vscode using below command:
code .
- Now to setup your database please follow the steps provided in README.md file of your blog-app project.
Prisma supports wide range of databases
Prisma provides a unified and versatile database experience, enabling you to connect to diverse databases through a single schema definition. This ensures a consistent schema for interacting with various databases and generates a unified API, streamlining development for flexibility and ease. Whether you opt for MySQL, PostgreSQL, SQLite, or other supported databases, Prisma's unified approach simplifies both database management and application development.
- Open terminal in vscode and enter the below command
godspeed prisma prepare
This command will generate the prisma client and will sync the database with prisma schema
- 3000 is the default port number,if you want to provide your custom port number, you can modify the port number from "./src/eventsources/http.yaml"
type: express
port: 3000
- Now to generate the CRUD API'S enter the below command
godspeed gen-crud-api
This command will generate the crud apis based on the sample prisma schema provided at ./src/datasources/mongo.prisma
Command generates the below respective folders and files in the Events and Functions.
    .
    ├── src
        ├── datasources
        │   ├── types
        │   |    └── prisma.ts
        |   |
        │   └── mongo.prisma
        |
        ├── events
        |   ├── post.yaml
        │   └── user.yaml
        |
        ├── eventsources
        │   ├── types
        │   |    └── express.ts
        |   |
        │   └── http.yaml
        |
        └── functions/com/biz/mongo
            ├── post
            |   ├── create.yaml
            |   ├── delete.yaml
            |   ├── one.yaml
            |   ├── search.yaml
            |   └── update.yaml
            |
            └── user
                ├── create.yaml
                ├── delete.yaml
                ├── one.yaml
                ├── search.yaml
                └── update.yaml
- Run
godspeed serveto start the development server.
godspeed serve
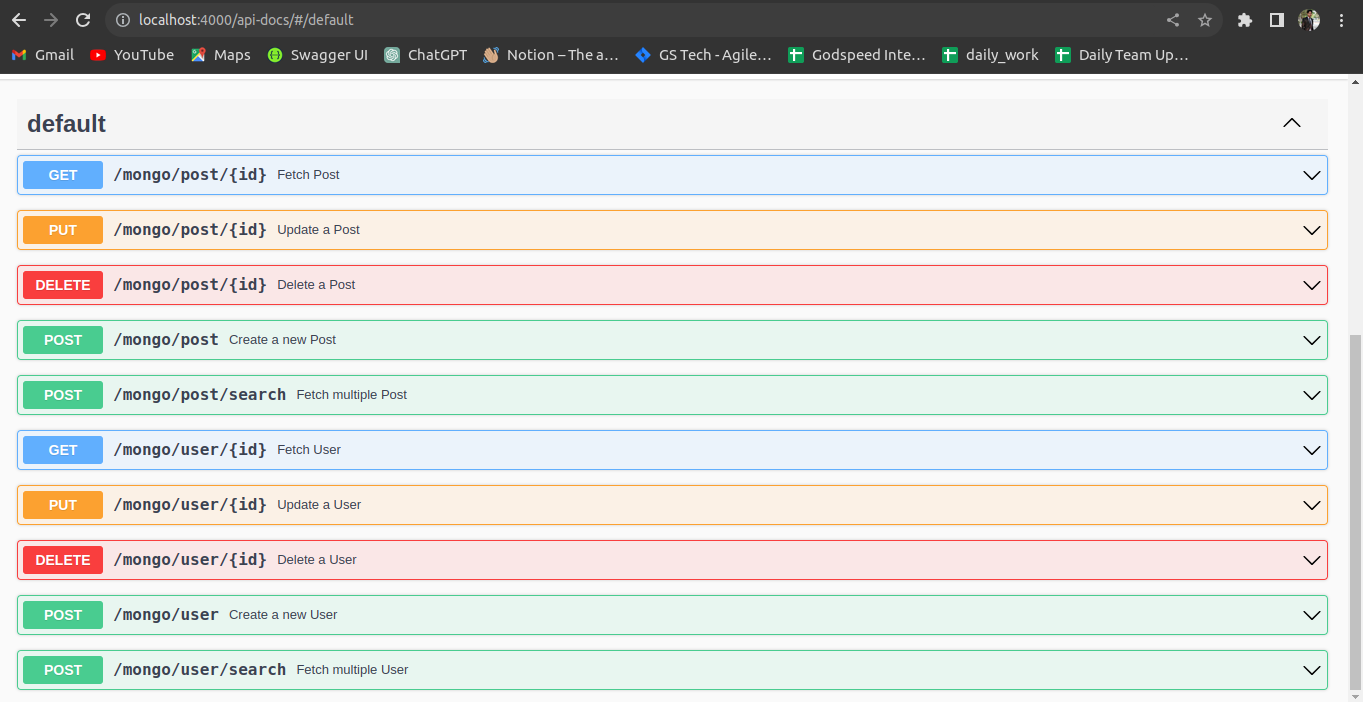
- Go to http://localhost:3000/api-docs to see the API endpoints in the swagger.

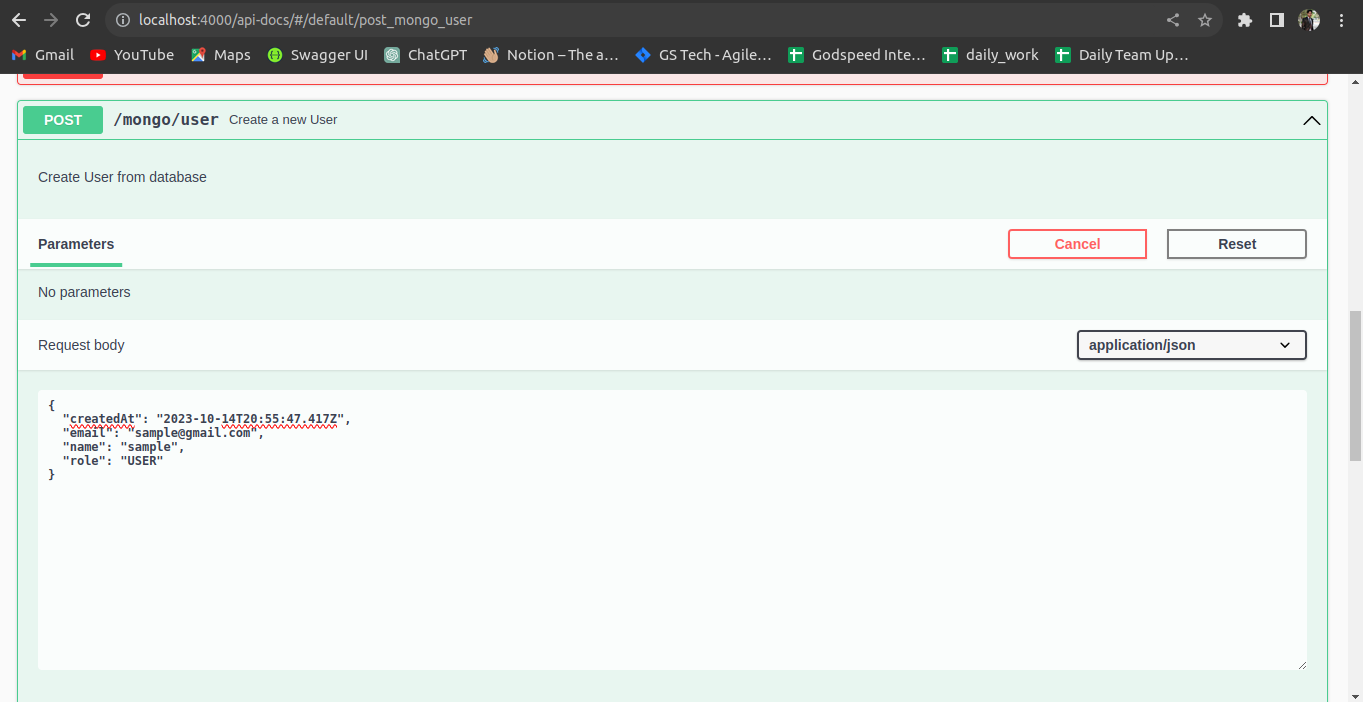
- Create a user in the Mongodb by giving the proper request body to the post API in the swagger and execute it.

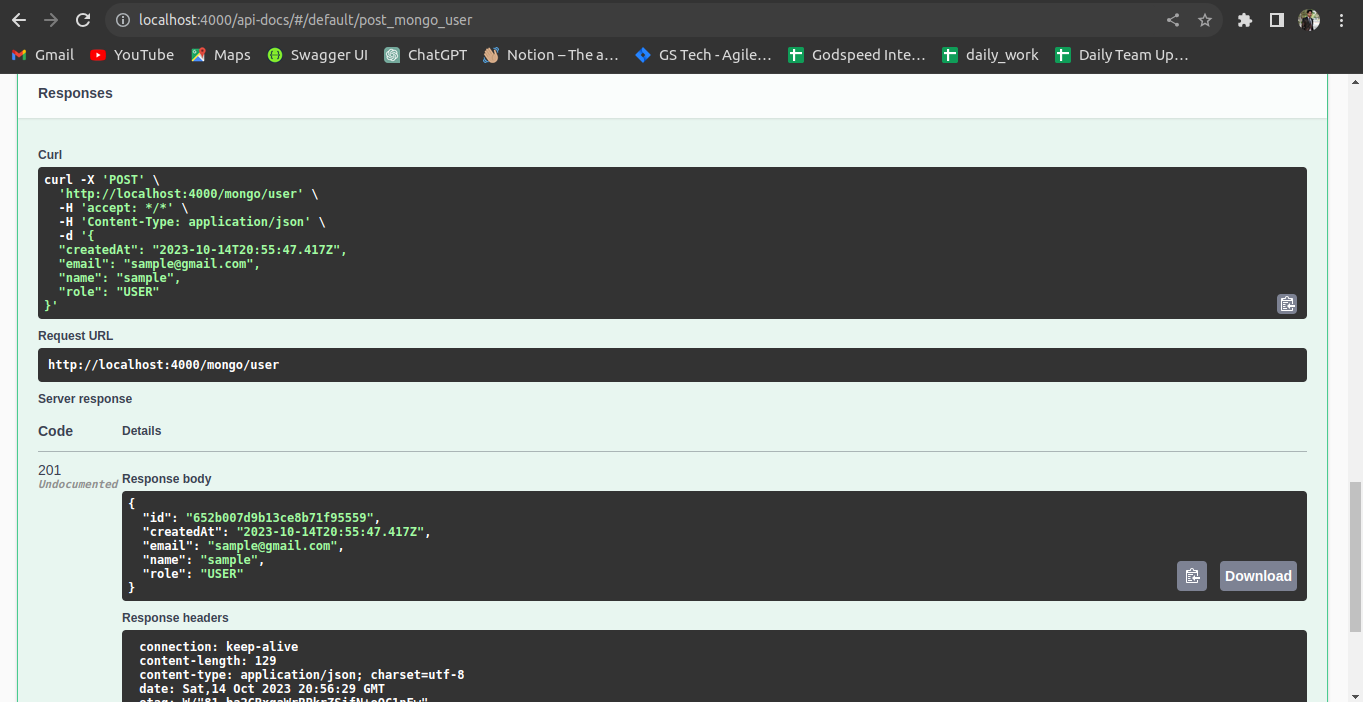
- An appropriate response will be returned on successful execution.

Voila! Your API backend is up and running. You can use Postman or swagger to test your API's.
Happy building with Godspeed!